How to Grow Microgreens at Home: Easy Soil and Soilless Methods
If you’re looking for a simple, inexpensive way to boost your nutrition with whole foods, growing microgreens at home is one of the best investments you can make in your health.
Microgreens are tender, young plants harvested at the cotyledon stage — meaning they pack the highest concentration of vitamins, minerals, and antioxidants per bite compared to their fully grown counterparts. Even better, when you grow your own, you avoid the pesticides, plastic packaging, and high costs often associated with store-bought microgreens.
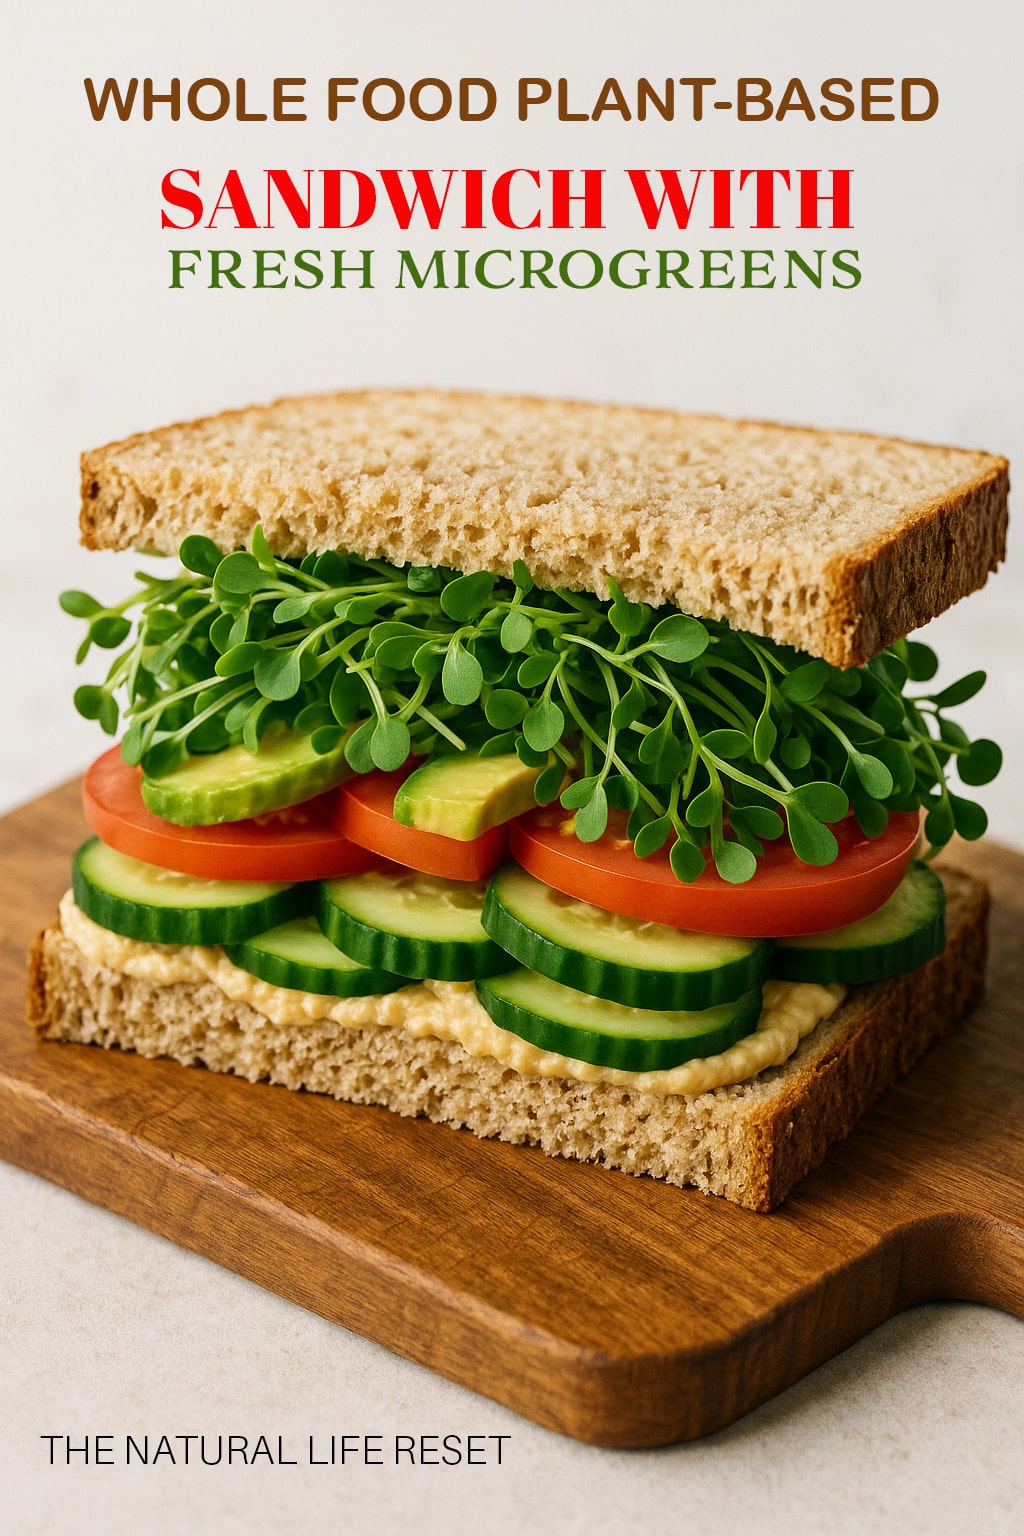
They’re the perfect finishing touch for salads, soups, wraps, stir-fries, Buddha bowls — really, any dish you want to elevate with a burst of fresh, living flavor and nutrition! 🌱
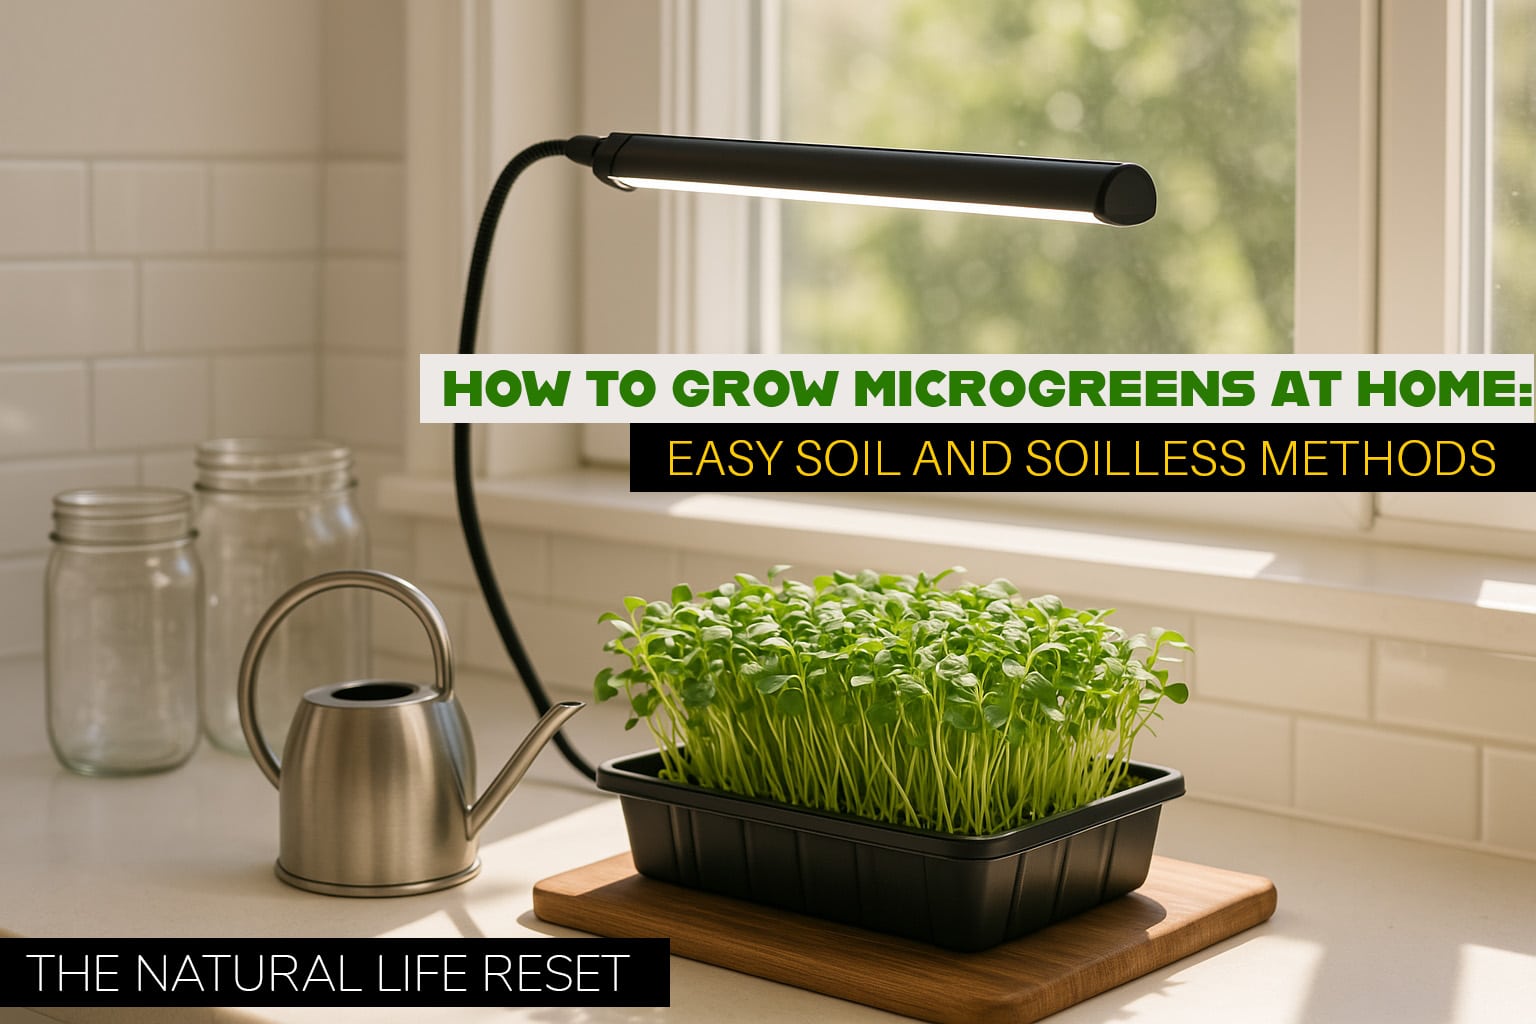
Let’s dive into two popular methods you can use to grow them at home, using either natural sunlight on a windowsill or a small, inexpensive LED full-spectrum grow light (my preferred method for consistent results).

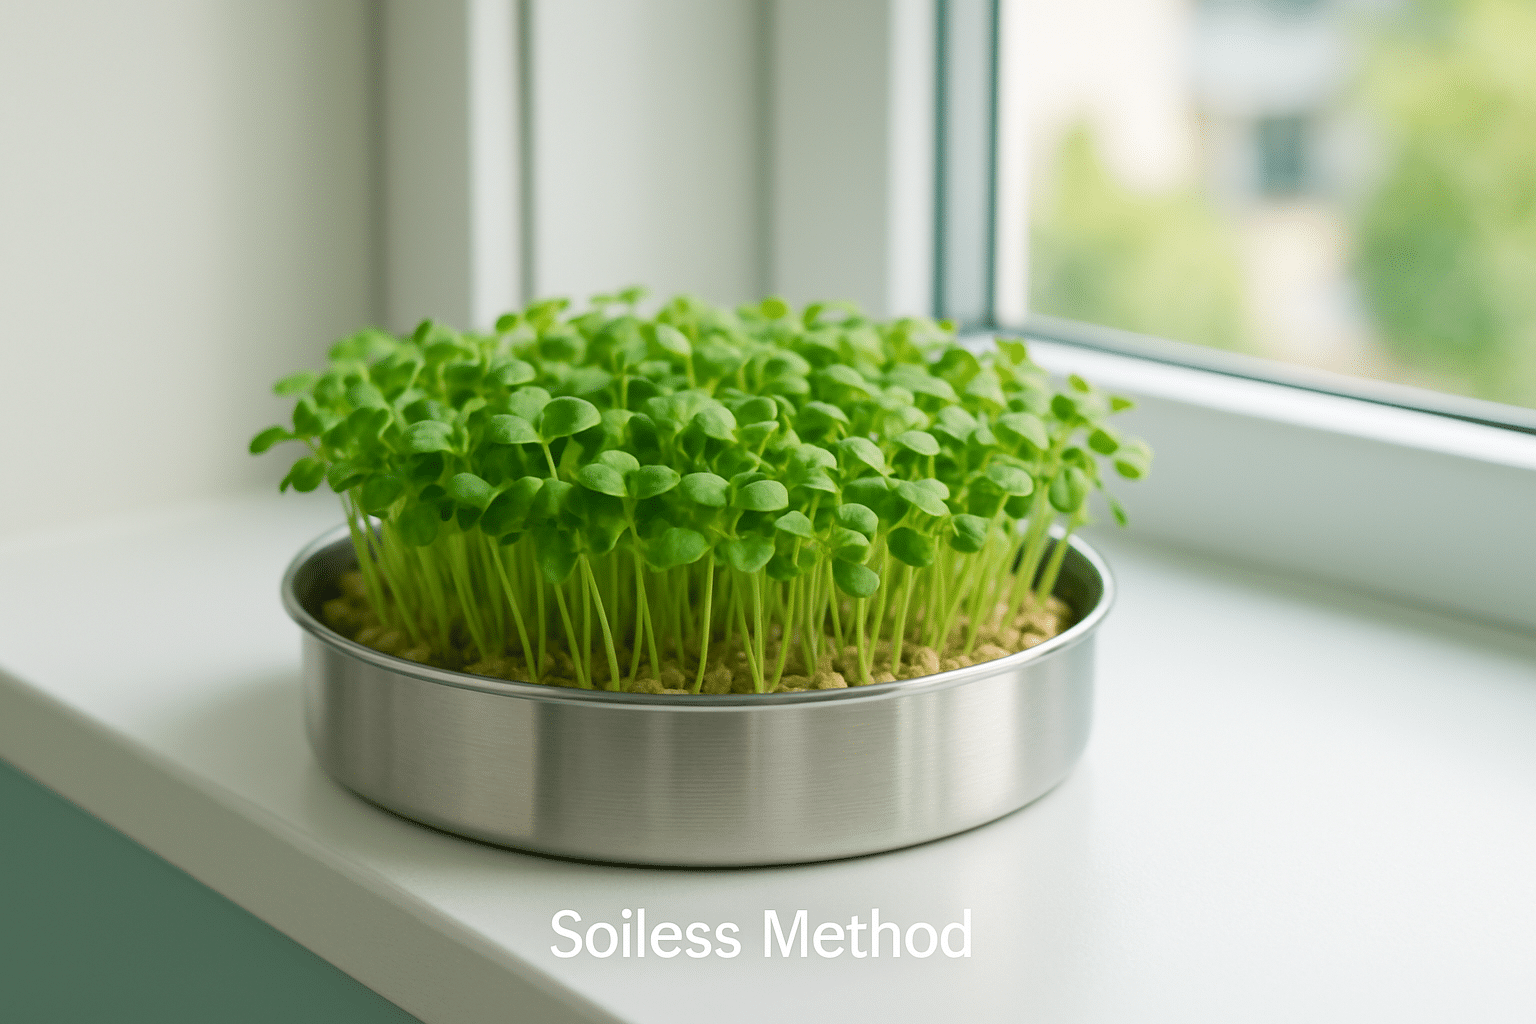
Method 1: Soilless Microgreens Using a Metal Mesh Container
If you’re looking to save money and skip the need for soil, a metal mesh container offers a simple solution:
Supplies Needed:
-
Stainless steel or aluminum mesh container (about 1–2 inches deep)
-
High-quality microgreen seeds (such as broccoli, radish, or a mix)
-
Filtered and remineralized water (recommended for best germination)
-
Small spray bottle for misting
-
Sunlit windowsill or full-spectrum LED grow light
Instructions:
-
Place the mesh container on a drip tray or shallow dish to catch excess water.
-
Spread your seeds evenly across the mesh.
-
Mist gently with filtered, remineralized water until seeds are well hydrated.
-
Cover loosely with another mesh tray or a breathable lid for the first 2–3 days to encourage germination.
-
Keep the seeds moist by misting 2–3 times per day.
-
After germination, remove the cover and expose the sprouts to light.
-
Harvest when microgreens are about 2–3 inches tall, usually in 7–14 days.
Pros:
-
No soil needed = cost savings 💵
-
Simple and clean
-
Easy cleanup
Cons:
-
Smaller harvest sizes compared to soil methods
-
Some seeds may not grow as large or vibrant without a growing medium
Method 2: Growing Microgreens in Soil Using a Three-Tray Kit
Using soil tends to produce larger, faster-growing, and more nutrient-dense microgreens. Here’s how the classic three-tray system works:
Supplies Needed:
-
Three-tray microgreen kit (top tray = lid, middle tray = perforated soil tray, bottom tray = water catch tray)
-
Organic Black Gold Seedling Mix or another high-quality organic soil
-
High-quality microgreen seeds
-
Filtered and remineralized water
-
Small spray bottle or watering can
-
Sunlit windowsill or full-spectrum LED grow light
Instructions:
-
Fill the perforated tray with about 1 inch of moistened Black Gold soil.
-
Evenly scatter your microgreen seeds across the surface (do not bury them).
-
Mist lightly to settle the seeds into the soil.
-
Place the empty top tray over the soil tray to create darkness for germination.
-
Check daily, misting as needed to keep the soil moist but not soggy.
-
After 2–4 days (depending on the variety), remove the top tray to expose the sprouts to light.
-
Bottom water by pouring water into the bottom tray to avoid disturbing roots.
-
Harvest at 2–3 inches tall — typically within 7–14 days!
Pros:
-
Bigger harvests with fuller, leafier greens
-
Faster growth rates
-
More forgiving for beginner gardeners
Cons:
-
Requires organic soil purchase
-
Slightly more involved cleanup after harvest
Sunlight vs. Full-Spectrum Grow Lights
Both natural window light and LED grow lights work, but a full-spectrum LED light often delivers better, more consistent results — especially in winter or in darker homes.
A small, energy-efficient LED grow light like the GE Full Spectrum Grow Light or a Mars Hydro TS600 is a smart investment if you want reliable harvests year-round. 🌞💡
Why Filtered and Remineralized Water?
Filtered and remineralized water provides pure hydration without chlorine, heavy metals, or contaminants that can inhibit germination. Plus, the added minerals support stronger, healthier microgreen development!
Recommended Water Systems:
Both systems allow easy remineralization for optimal plant and human health. 🌱🚰
Final Tips
-
Use organic, non-GMO seeds designed for microgreen growing.
-
Keep humidity in check — especially during germination.
-
Start small and scale up as you gain confidence!
-
Always harvest with clean scissors just above the soil line.
TL;DR 📝
Grow your own microgreens at home easily with either a soilless metal mesh method (cheap and clean) or a soil-based three-tray method (bigger, faster harvests). Use filtered, remineralized water and either window light or a full-spectrum LED for healthy, vibrant greens that boost your meals and your health! 🌱🌞


